
Have you ever wanted to use Gmail, YouTube, Google Drive, or Google Photos but didn’t know where to start? The good news is that you only need one Google Account to access all these services.
Creating a Google Account is free, easy, and takes just a few minutes. Whether you want to send emails, store files online, watch YouTube videos, or manage your Android device, having a Google Account makes everything more convenient.
In this guide, we’ll explain how to create a Google Account step by step, including how to set up your account on a computer or smartphone.
What Is a Google Account?
A Google Account is a free user account that gives you access to Google’s products and services. Once you create an account, you can use the same login details across multiple Google platforms.
Some popular Google services you can access include:
- Gmail: Send and receive emails.
- YouTube: Watch videos, subscribe to channels, and upload content.
- Google Drive: Store and share files online.
- Google Photos: Back up and organize your photos.
- Google Maps: Find directions and explore locations.
- Google Meet: Make video calls and attend online meetings.
- Google Play: Download apps and games on Android devices.
Instead of creating separate accounts for these services, one Google Account gives you access to them all.
What Do You Need Before Creating a Google Account?
Before you begin, make sure you have the following:
- A smartphone, tablet, or computer.
- A stable internet connection.
- A name to use when setting up your account.
- A date of birth and other requested information.
- A unique username for your Gmail address.
- A strong password to protect your account.
Depending on your circumstances and Google’s verification requirements, you may also need a phone number or another recovery method.
How to Create a Google Account on a Computer
Follow these simple steps to create your Google Account using a desktop computer or laptop.
Step 1: Visit the Google Account Sign-Up Page
Open your preferred web browser, such as Google Chrome, Microsoft Edge, Firefox, or Safari.
Go to Google’s official account registration page:
Click on the option to create an account.
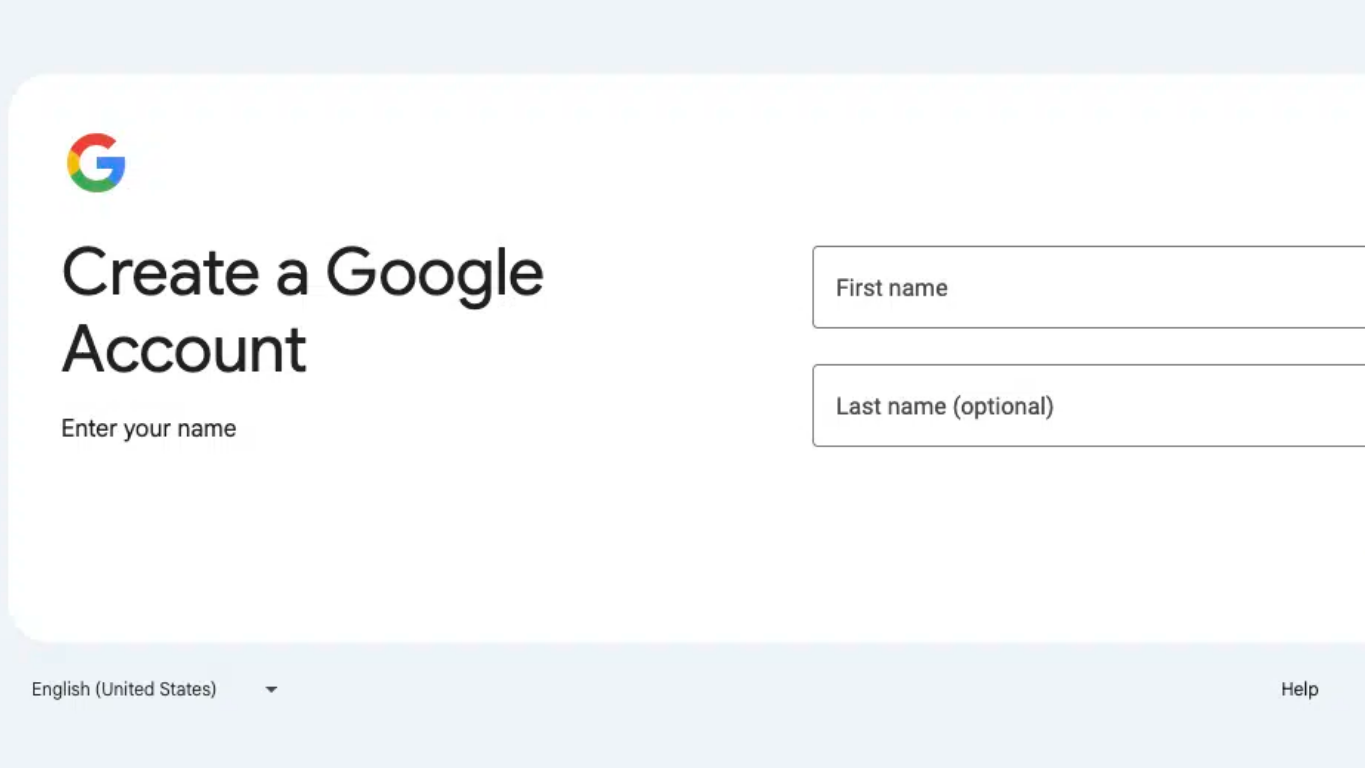
Step 2: Enter Your Personal Information
Google will ask you to provide some basic information, including your first and last name.
Enter the required details and click Next to continue.
Make sure your information is accurate, especially if you intend to use the account regularly.
Step 3: Enter Your Date of Birth and Other Details
Follow the instructions on the screen and provide your date of birth and any other requested information.
Google may use this information to determine account eligibility and provide appropriate account settings.
Click Next when you’re ready.
Step 4: Choose Your Gmail Username
Next, you’ll need to choose a username for your new Gmail address.
For example:
- johnsmith2026@gmail.com
- john.smith@gmail.com
- smithjohn25@gmail.com
Your username must be available. If someone else is already using your preferred username, Google will suggest alternatives.
Choose a username that is easy to remember and professional, especially if you plan to use your account for work or business.
Step 5: Create a Strong Password
The next step is to create a password for your Google Account.
For better security, choose a password that:
- Contains at least 12 characters.
- Includes a combination of letters, numbers, and symbols.
- Is difficult for other people to guess.
- You don’t reuse on other websites.
Enter your password and confirm it where requested.
Click Next to proceed.
Step 6: Complete Phone Verification If Required
Google may ask you to provide a phone number to verify your identity.
If verification is requested, enter your number and follow the instructions to receive and submit the verification code.
Verification requirements may vary depending on your location and circumstances.
Step 7: Review Google’s Terms and Conditions
Before completing registration, Google will display its Privacy Policy and Terms of Service.
Take a moment to review the information so you understand how your account and personal information are managed.
Follow the on-screen instructions to accept the terms and complete the registration process.
Congratulations! Your Google Account is now ready to use.
How to Create a Google Account on a Smartphone
You can also create a Google Account directly from your Android phone or iPhone.
On an Android Phone
Follow these steps:
- Open your phone’s Settings application.
- Find and select Passwords & accounts, Accounts, or a similarly named option. The wording depends on your device.
- Select Add account.
- Choose Google.
- Tap Create account.
- Select whether the account is for personal use or another available purpose.
- Enter your details and follow the instructions.
- Choose a Gmail username and create a strong password.
- Complete any requested verification.
- Review and accept Google’s terms.
Your new Google Account will be added to your Android device.
On an iPhone
If you’re using an iPhone, you can create a Google Account through your web browser.
- Open Safari or Google Chrome.
- Visit https://accounts.google.com/signup.
- Select Create account.
- Enter your name and other requested information.
- Choose your Gmail username.
- Create a secure password.
- Complete any required verification.
- Accept Google’s terms and conditions.
You can then download Gmail or other Google applications from the App Store and sign in using your new account.
How to Create a Google Account Without a Phone Number
Many people wonder whether they can create a Google Account without providing a phone number.
In some circumstances, Google allows users to create an account without phone verification. However, Google may require a phone number depending on its security checks and account registration requirements.
If the option to skip phone verification appears, you can continue without entering a phone number.
It’s also a good idea to add a recovery email address so you have another way to regain access if you forget your password.
How to Secure Your New Google Account
Creating your account is only the first step. You should also take measures to protect it from unauthorized access.
Here are some useful security tips:
1. Use a Strong Password
Avoid using simple passwords such as your name, birthday, or common number combinations. Choose a unique password that is difficult to guess.
2. Enable Two-Step Verification
Two-Step Verification adds another layer of security to your Google Account.
When enabled, you may need to confirm your identity using an additional verification method when signing in.
3. Add a Recovery Email Address
A recovery email address can help you regain access if you forget your password or experience account security problems.
4. Keep Your Recovery Information Updated
Make sure your recovery phone number and email address are current so Google can contact you when necessary.
5. Never Share Your Password
Avoid sharing your password with anyone. Be careful when clicking suspicious links or responding to messages asking for your login information.
Common Problems When Creating a Google Account
Sometimes, you may experience problems during the registration process. Here are a few common issues and possible solutions.
Problem 1: Your Gmail Username Is Already Taken
This means another person is already using your preferred Gmail address.
Solution: Try adding numbers, using a different combination of your names, or selecting one of Google’s suggested usernames.
Problem 2: You Cannot Complete Phone Verification
You may experience difficulties receiving a verification code.
Solution: Check that your phone number is correct, ensure your device can receive messages, and follow Google’s instructions. Avoid repeatedly requesting codes in a short period.
Problem 3: Google Will Not Accept Your Password
Your password may not meet Google’s current security requirements.
Solution: Choose a longer, unique password that meets the requirements displayed on the screen.
Problem 4: You Cannot Access the Registration Page
This may happen because of an unstable internet connection or a browser problem.
Solution: Check your internet connection, refresh the page, or try using another browser.